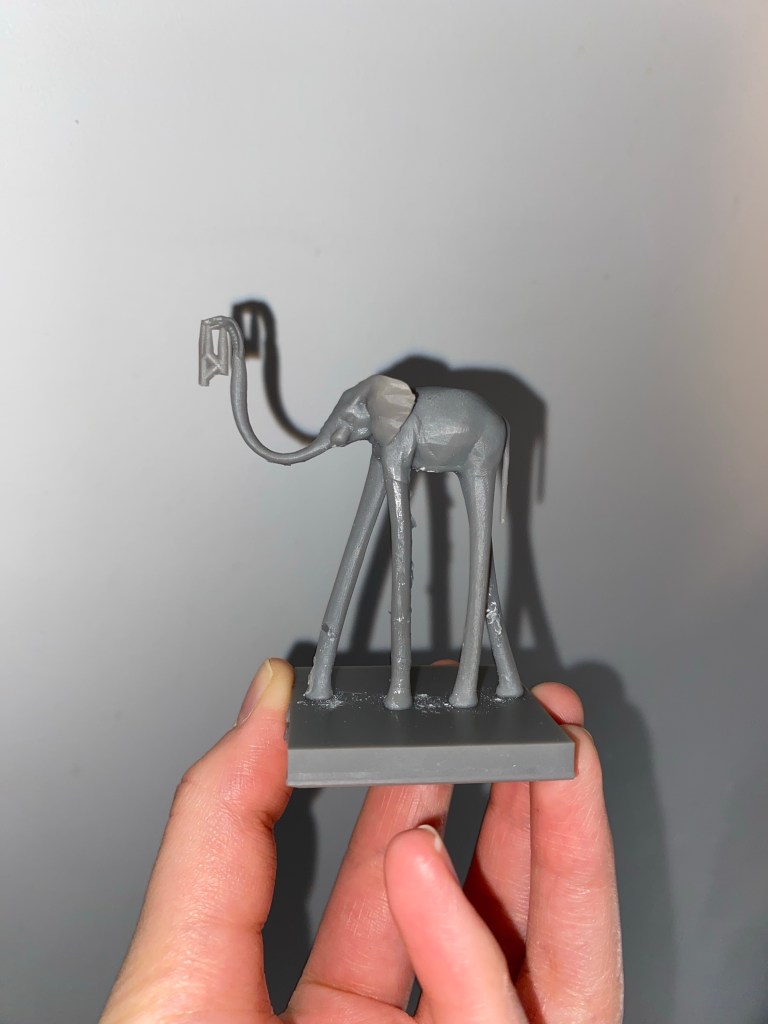
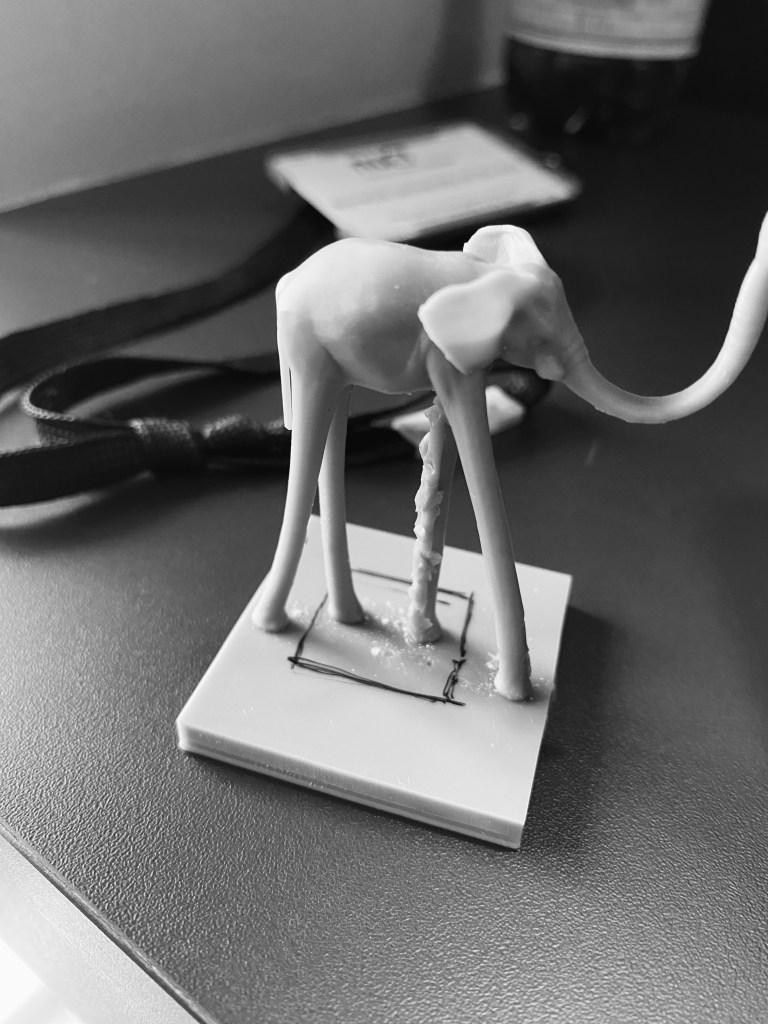
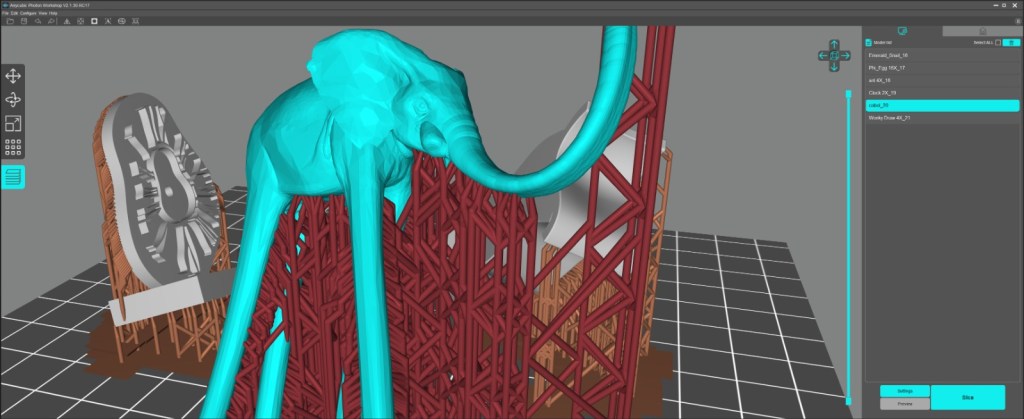
To make the chess pieces, I have decided to 3D print them. Luckily I had help – my partner showed me how to use the software and explained how the printing works. So first thing’s first – I had to model the pieces using the softwares Mesh mixer, sketchup and 3D builder. Once I was happy with their shape, they were transported to a software called….. where I could preview what they would look like once printed. The software also tells you where the most fragile pieces of the structure are and allow you to add supports of different strengths. Due to the side of these pieces, I applied the thinnest possible supports meaning that they could be removed easier when it came to it. The software also provided the time it would take to print these pieces. And the elephant as shown below, took 4 hours alone. Once the elephant had printed, the base it was on was too large and completely covered a tile on the table. I wanted to be able to see the table underneath as I went through so much work to get the table where it is so I marked where I wanted the base to be and altered it later on.
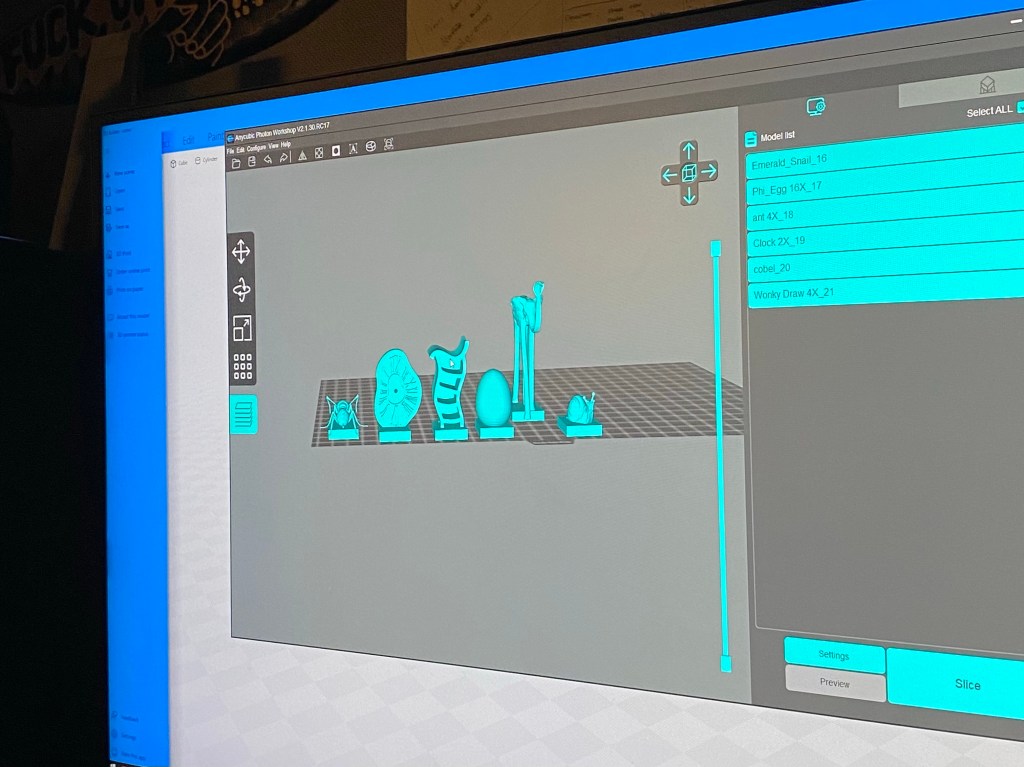
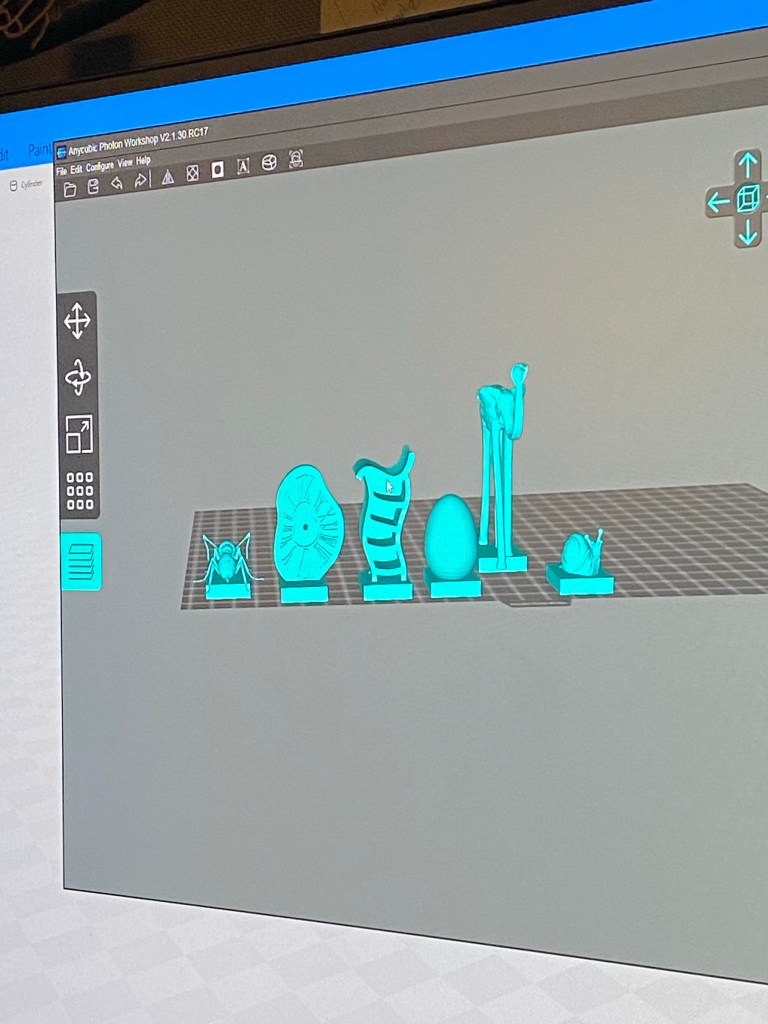
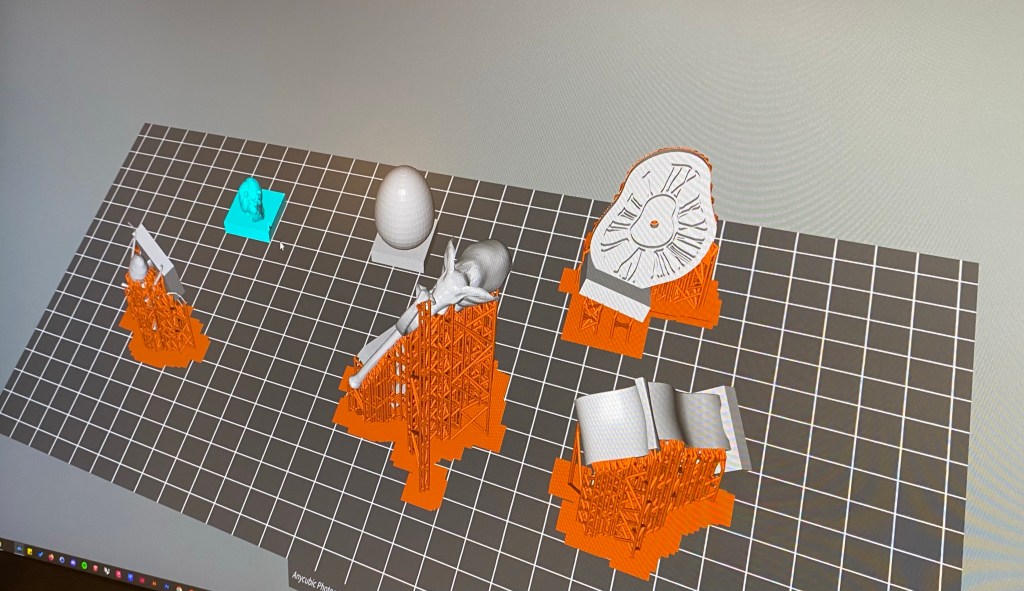
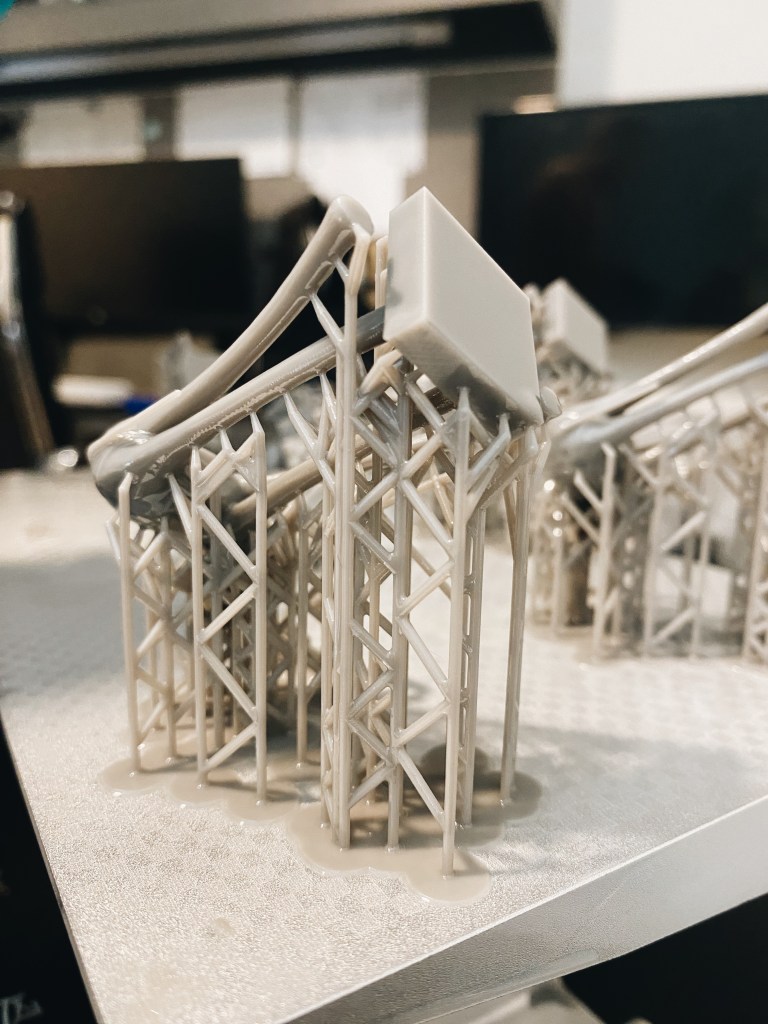
The software I used to manually apply the supports to ensure a smooth and easy print is called Pikaslice. It shows where the most vulnerable points of the piece is so you know where to add the most supports. It is also a possibility to adjust the thickness and sturdiness of the supports. For these small, fragile pieces, medium / light supports sufficed.
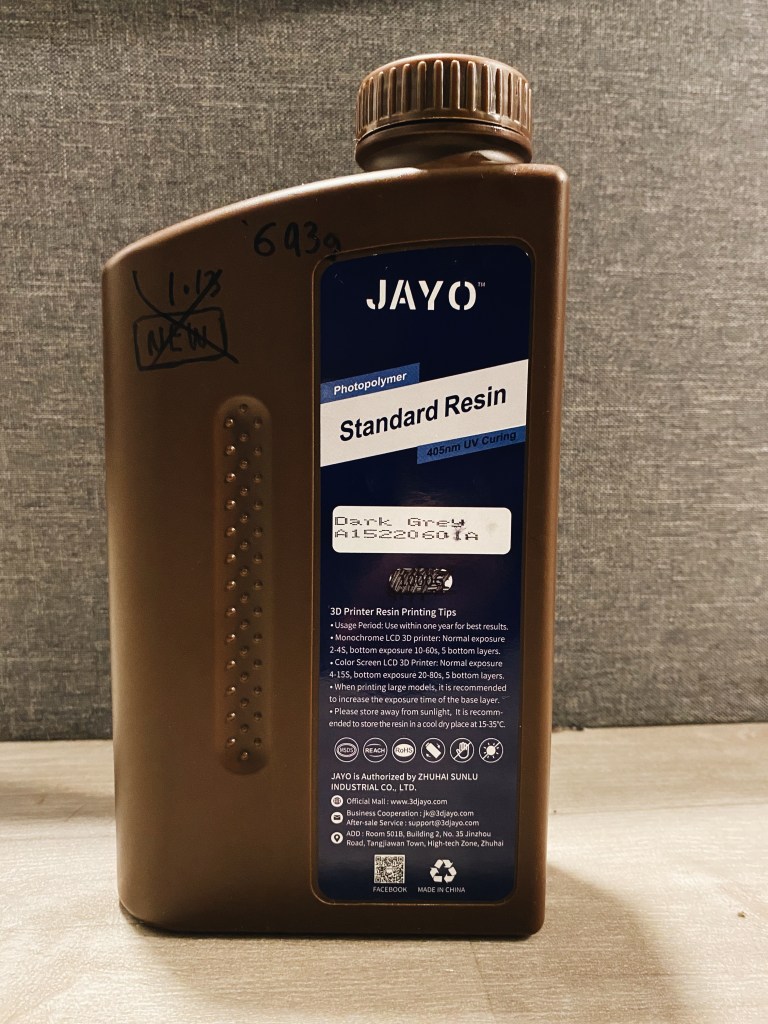
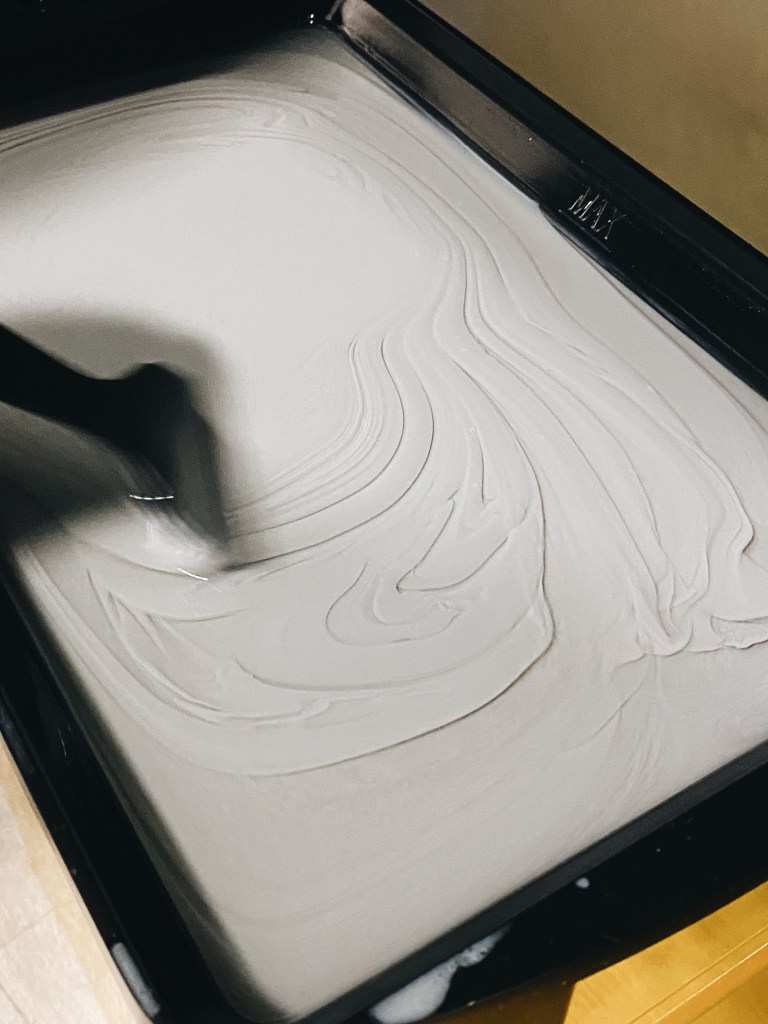
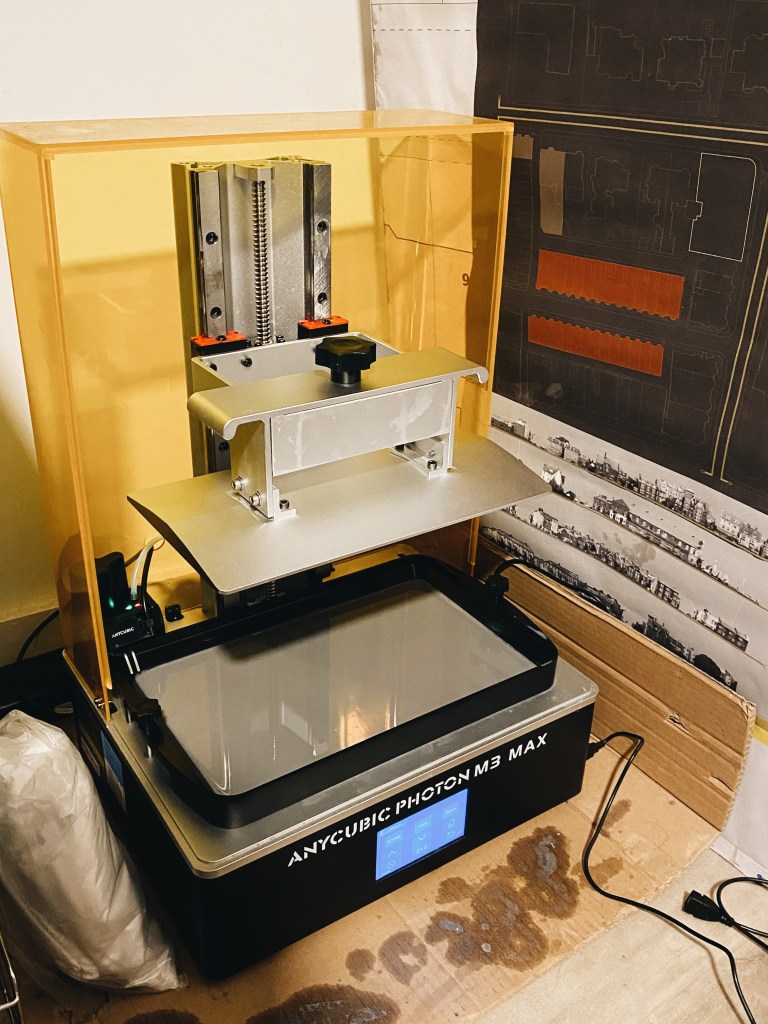
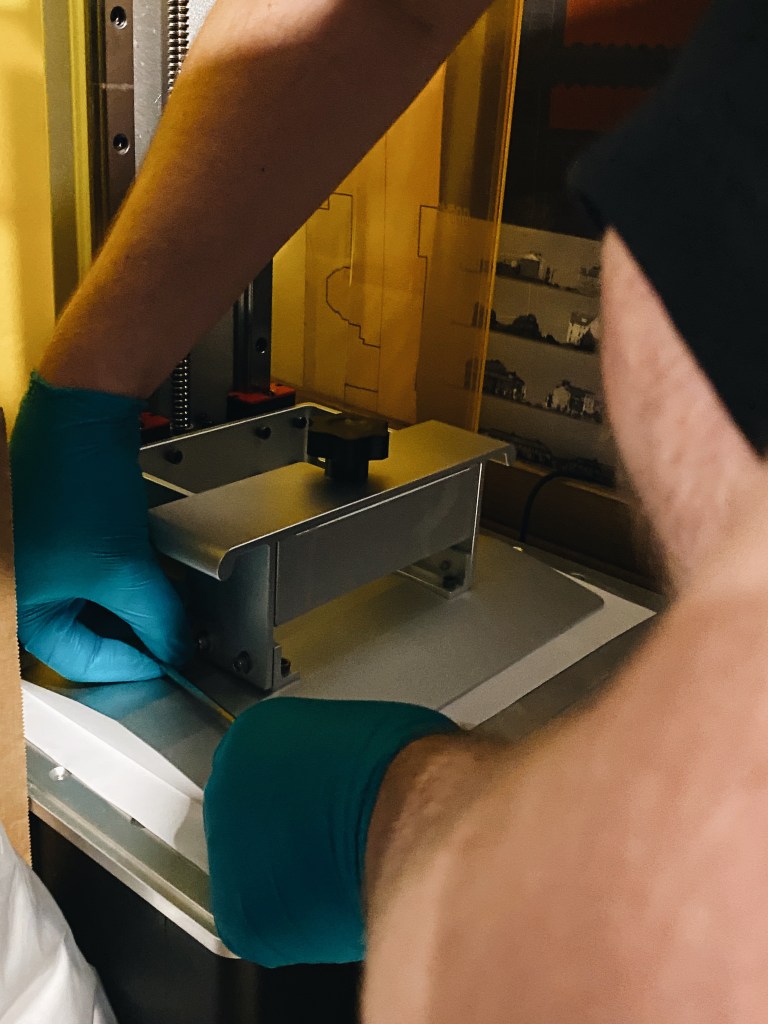
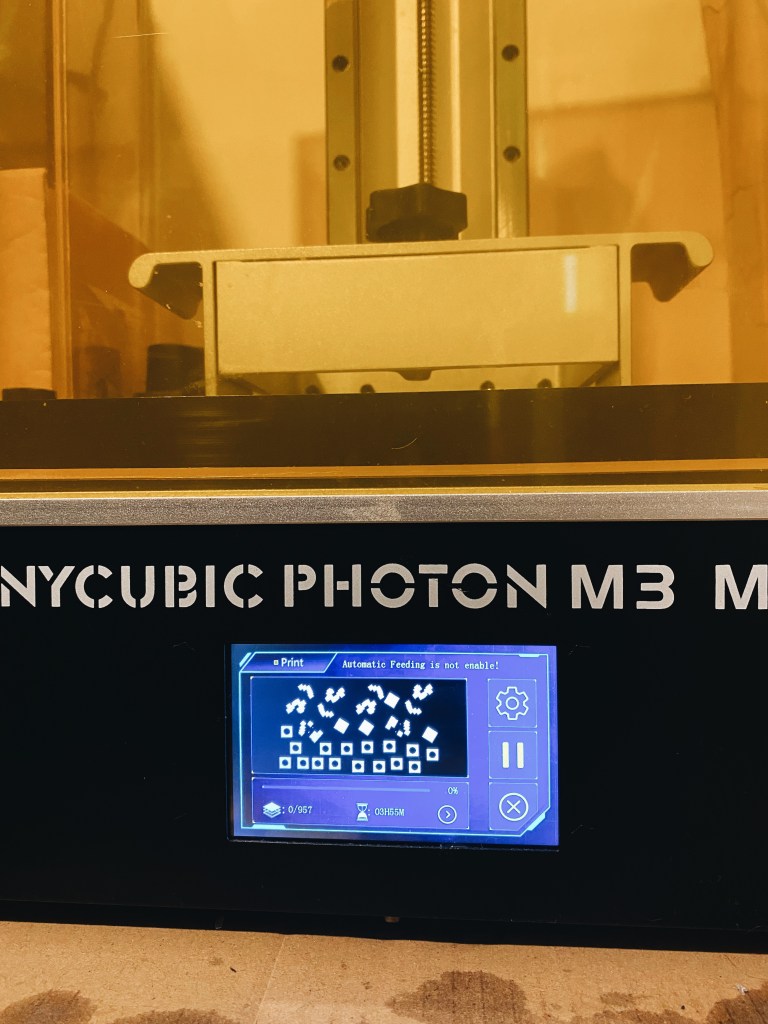
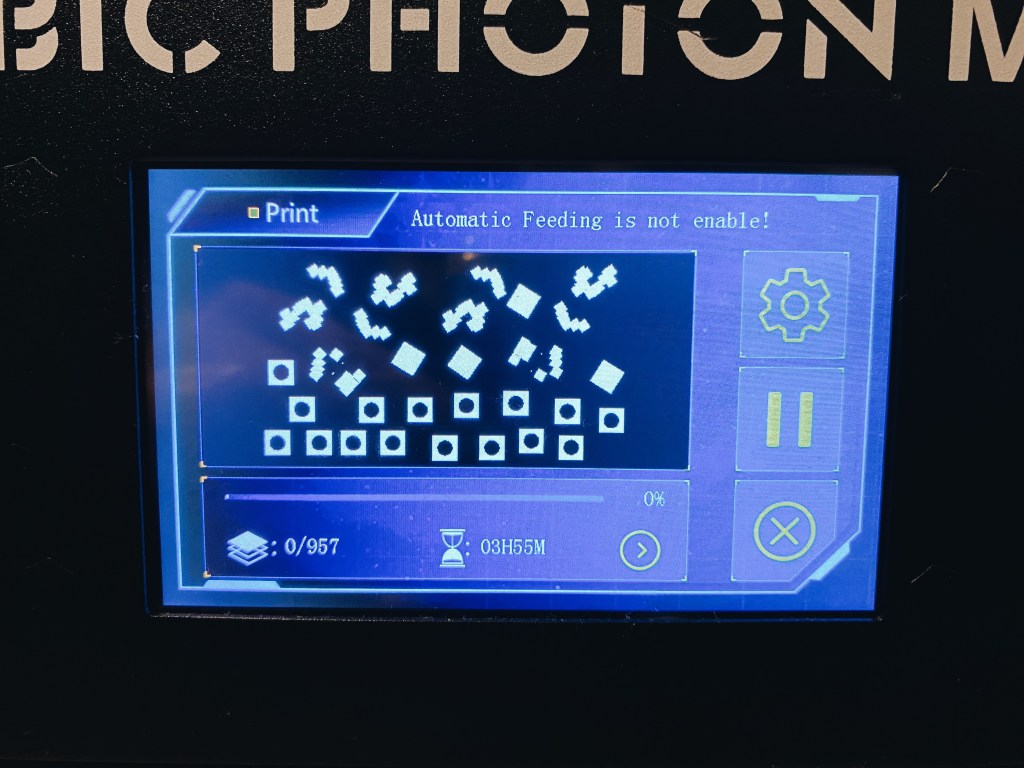
The process to actually making the pieces, started by mixing and loosening the resin in the vat and place it in the printer and tighten the plate. Then on the screen, we were able to see how and where on the plate they would print and how long it would take. These took roughly 5 hours to all print.
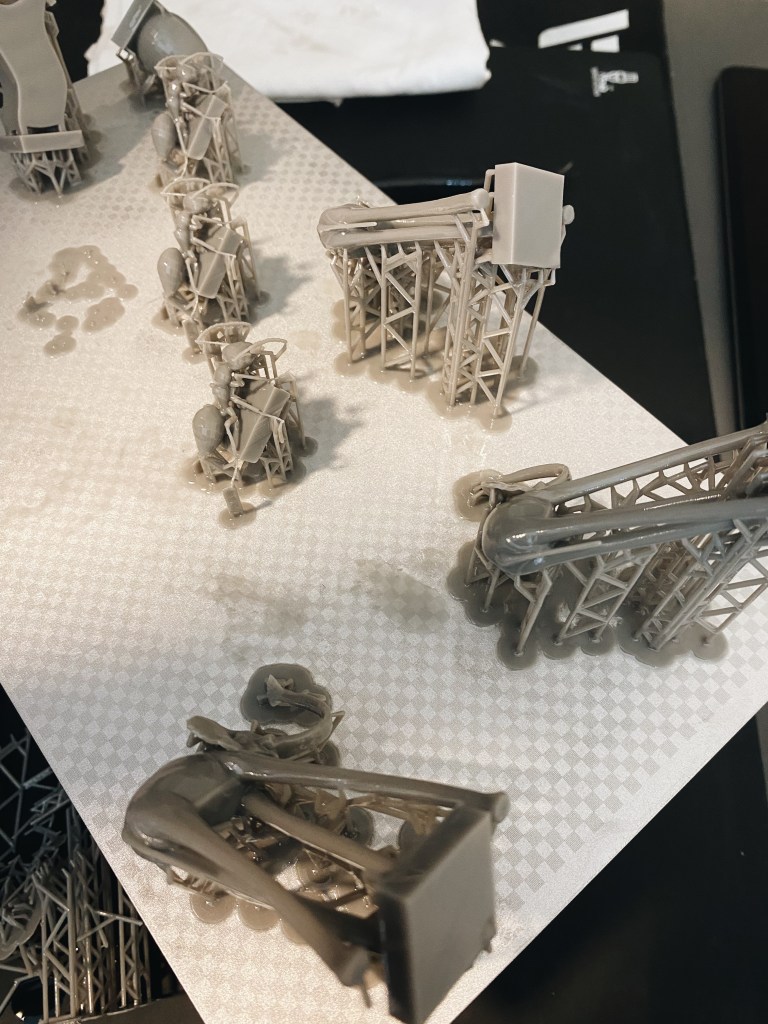
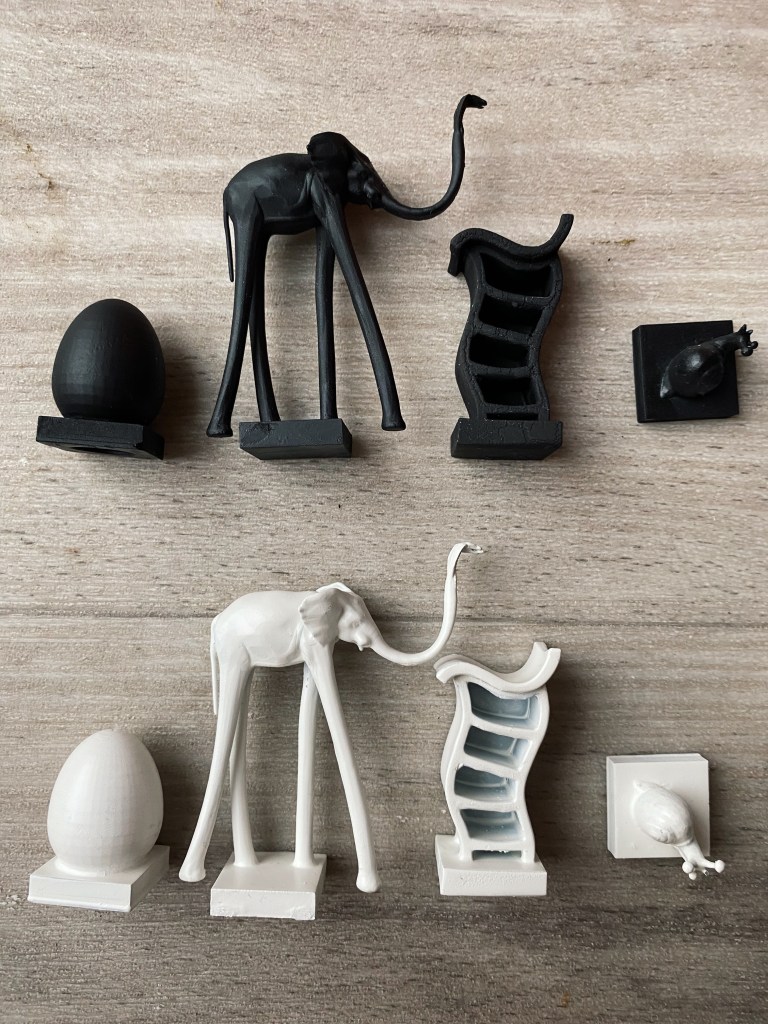
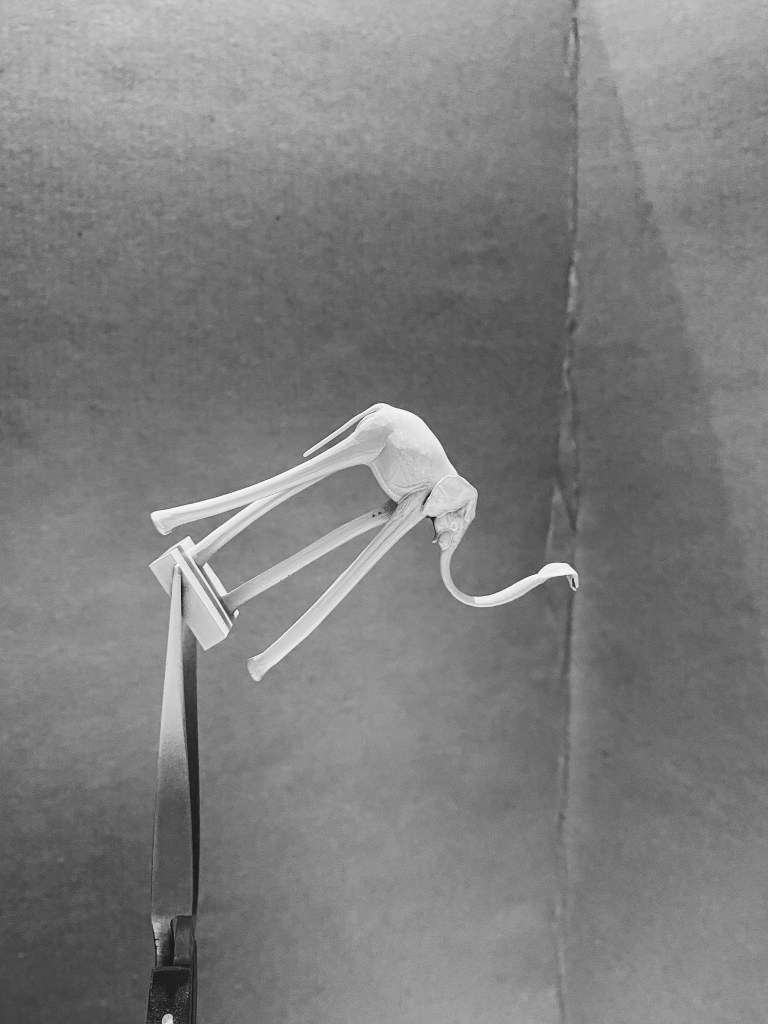
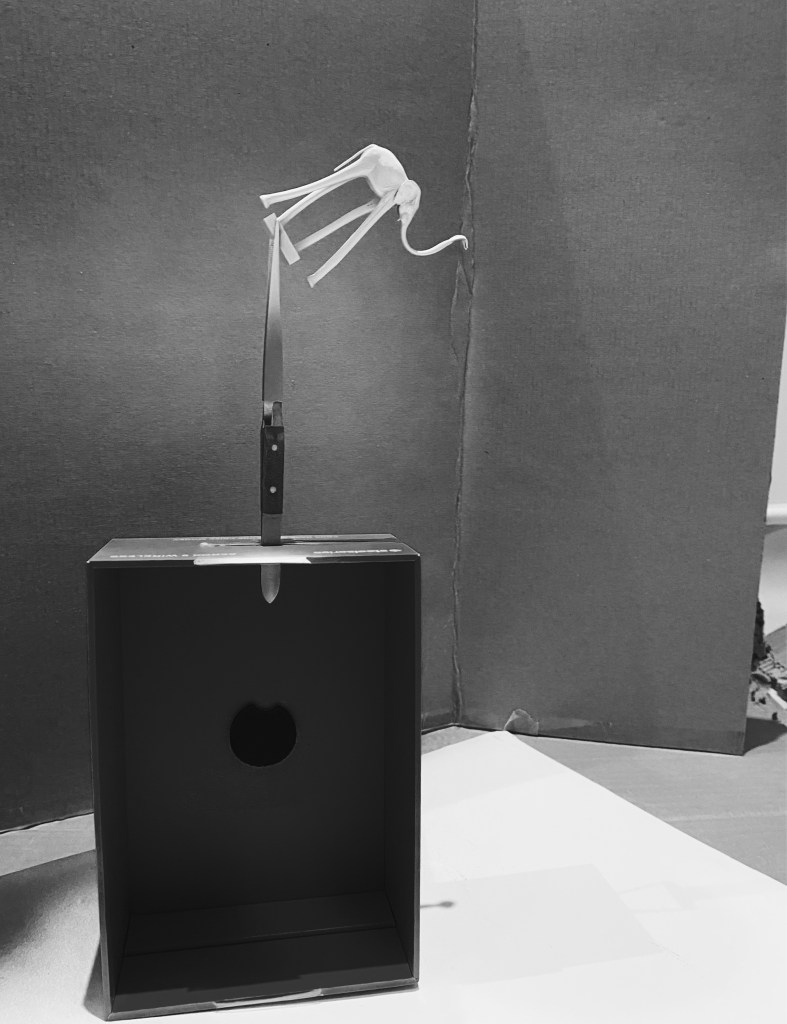
Once they had printed, the supports needed to be removed so I got some pliers and carefully removed them one by one.
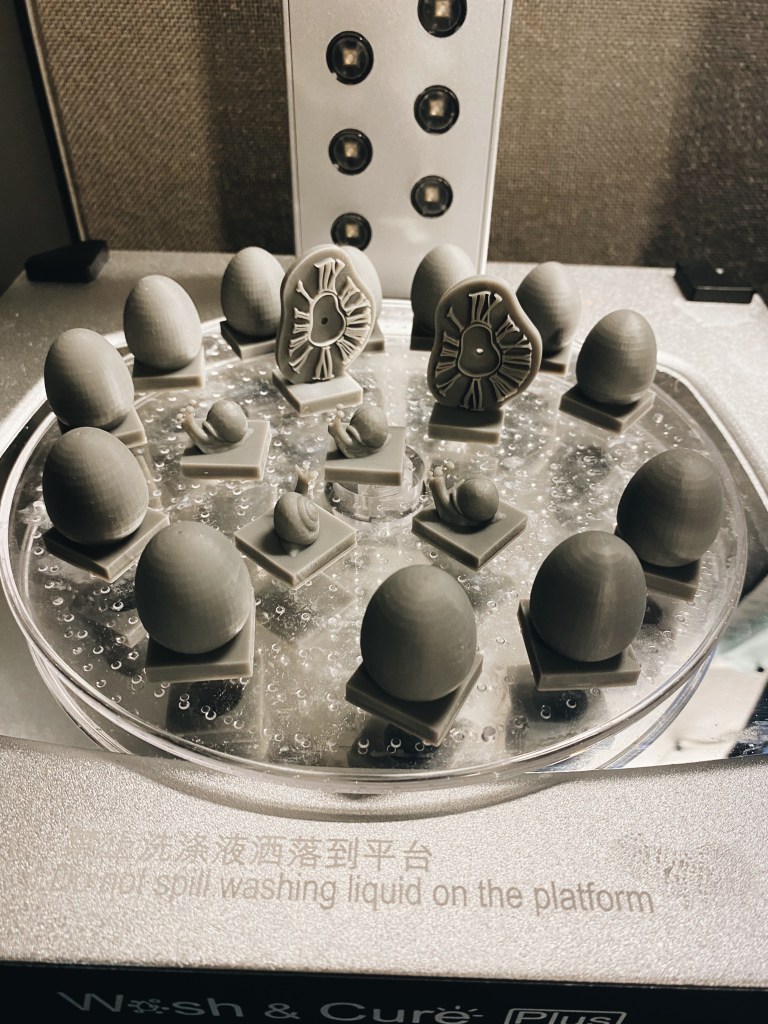
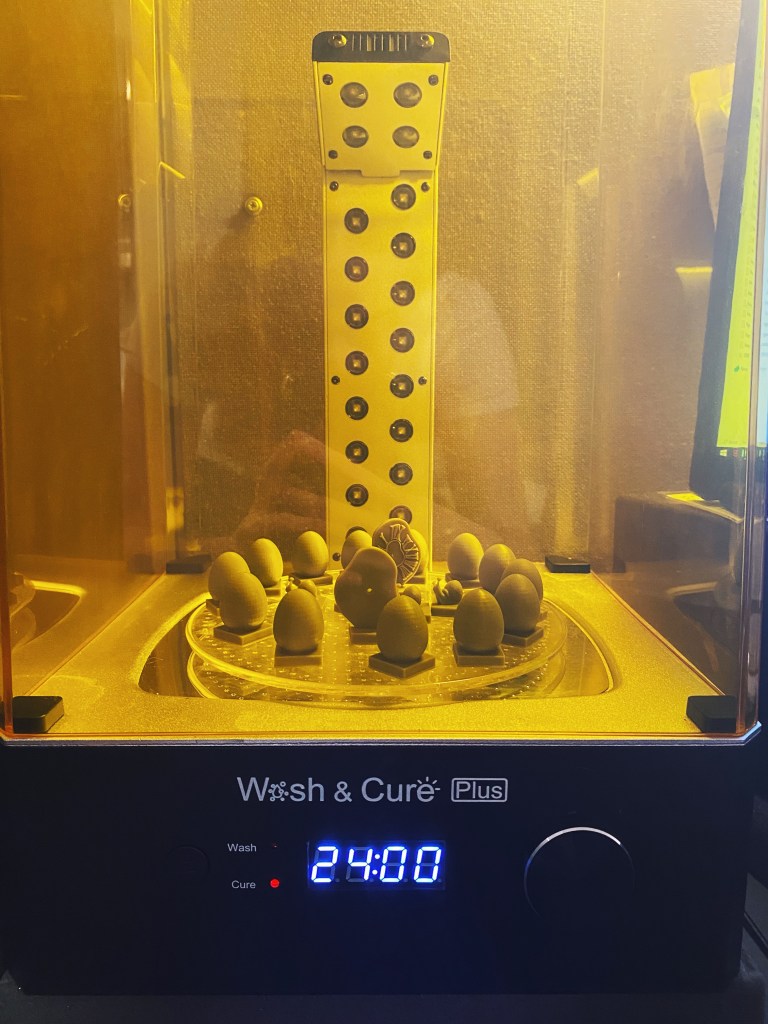
Once that was completed, the pieces were cleaned with isopropyl alcohol, dried and then put in a machine to cure them. This ensures maximum support to the pieces and minimal damage.
Next was spray painting them. I had to do this one by one and applied multiple layers, waited for each layer to dry to reapply to ensure even coverage.